Visual Editor beta
The Visual Editor enables non-technical users to create A/B tests without writing code.
You can decide on a test-by-test basis whether you want to write code using the SDKs or use the Visual Editor.
Setup
This feature is disabled by default and must be turned on under Settings.
Once enabled, you will see the <script> tags that must be added to the site you want to test. It will look something like this:
<script>
  window.GROWTHBOOK_CONFIG = {
    // Optional logged-in user id
    userId: "123",
    // Impression tracking callback (e.g. Segment, Mixpanel, GA)
    track: function (experimentId, variationId) {
      analytics.track("Experiment Viewed", {
        experimentId,
        variationId,
      });
    },
  };
</script>
<script async src="http://localhost:3100/js/key_abc123.js"></script>
Config Options
The following config options are allowed:
- userId - The logged-in user id for the current user
- anonId - An anonymous identifier for the user (deviceId, cookieId, sessionId, etc.)
- groups - An array of groups the user belongs to. Used for targeting. (e.g.
internal,qa,premium, etc.) - enabled - If set to
false, no experiments will be run - track - A function that will be called every time the user is put into an experiment. Use this to track the impression in your analytics tool (GA, Segment, Mixpanel, or something else).
User/Anon Ids
If no anonId is set in the config options, a new one will be generated and persisted in localStorage.
Experiments can target based on a login state of Anonymous or User.
If a user is missing the specified id type, they will be excluded from the experiment.
This login state also determines which id will be used for assinging users to variations.
SPA Support
If you have a Single Page Application (SPA) that does client-side routing, you'll need to refresh experiments on a route change.
For example, with Next.js you can add the following to your pages/_app.js component:
const router = useRouter();

useEffect(() => {
  const onChange = () => window.growthbook?.refresh();
  router.events.on("routeChangeComplete", onChange);
  return () => router.events.off("routeChangeComplete", onChange);
}, []);
This will revert all previously running experiments and start new ones based on the latest value of window.location.href.
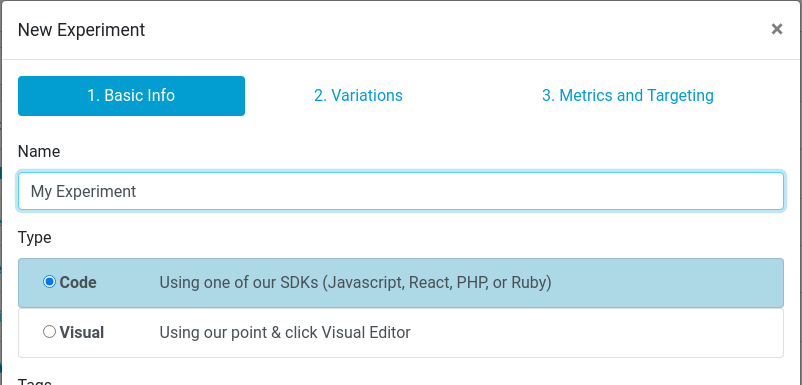
Using the Editor
When creating an experiment, you can choose to create a Code experiment (using an SDK) or a Visual experiment (using the Visual Editor).
After creating a Visual experiment, you can open the editor. Here you can inject CSS styles to the page and specify DOM mutations (e.g. changing innerHTML or adding a class to an element).
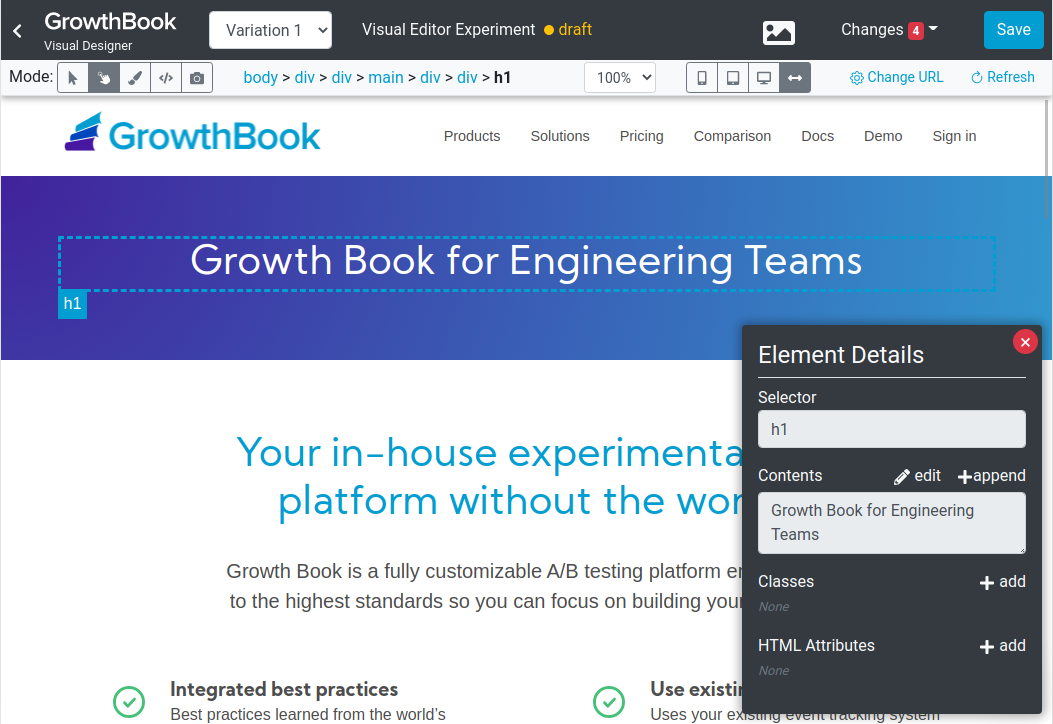
There is even a built-in screenshot tool if you want an easy way to capture what each variation looks like.
QA
Once you have a draft Visual experiment, you can preview variations by adding a querystring to your site.
For example, http://example.com/?my-experiment=1. The querystring key is the experiment "tracking key" and the value is the variation number (0 is the control, 1 is the first variation, etc.)
Until an experiment is moved out of the "draft" phase and started, this is the only way to view it on your site.
Production
When an experiment is started, users are immediately assigned variations.
If an experiment is stopped and a winner is declared, the winning variation will be rolled out to 100% of users. If you later go back and implement the winning variation in code, you can archive the experiment in GrowthBook and it will stop being included in the javascript code.